IKEA "Ballin’ on a Budget BUILT-IN”

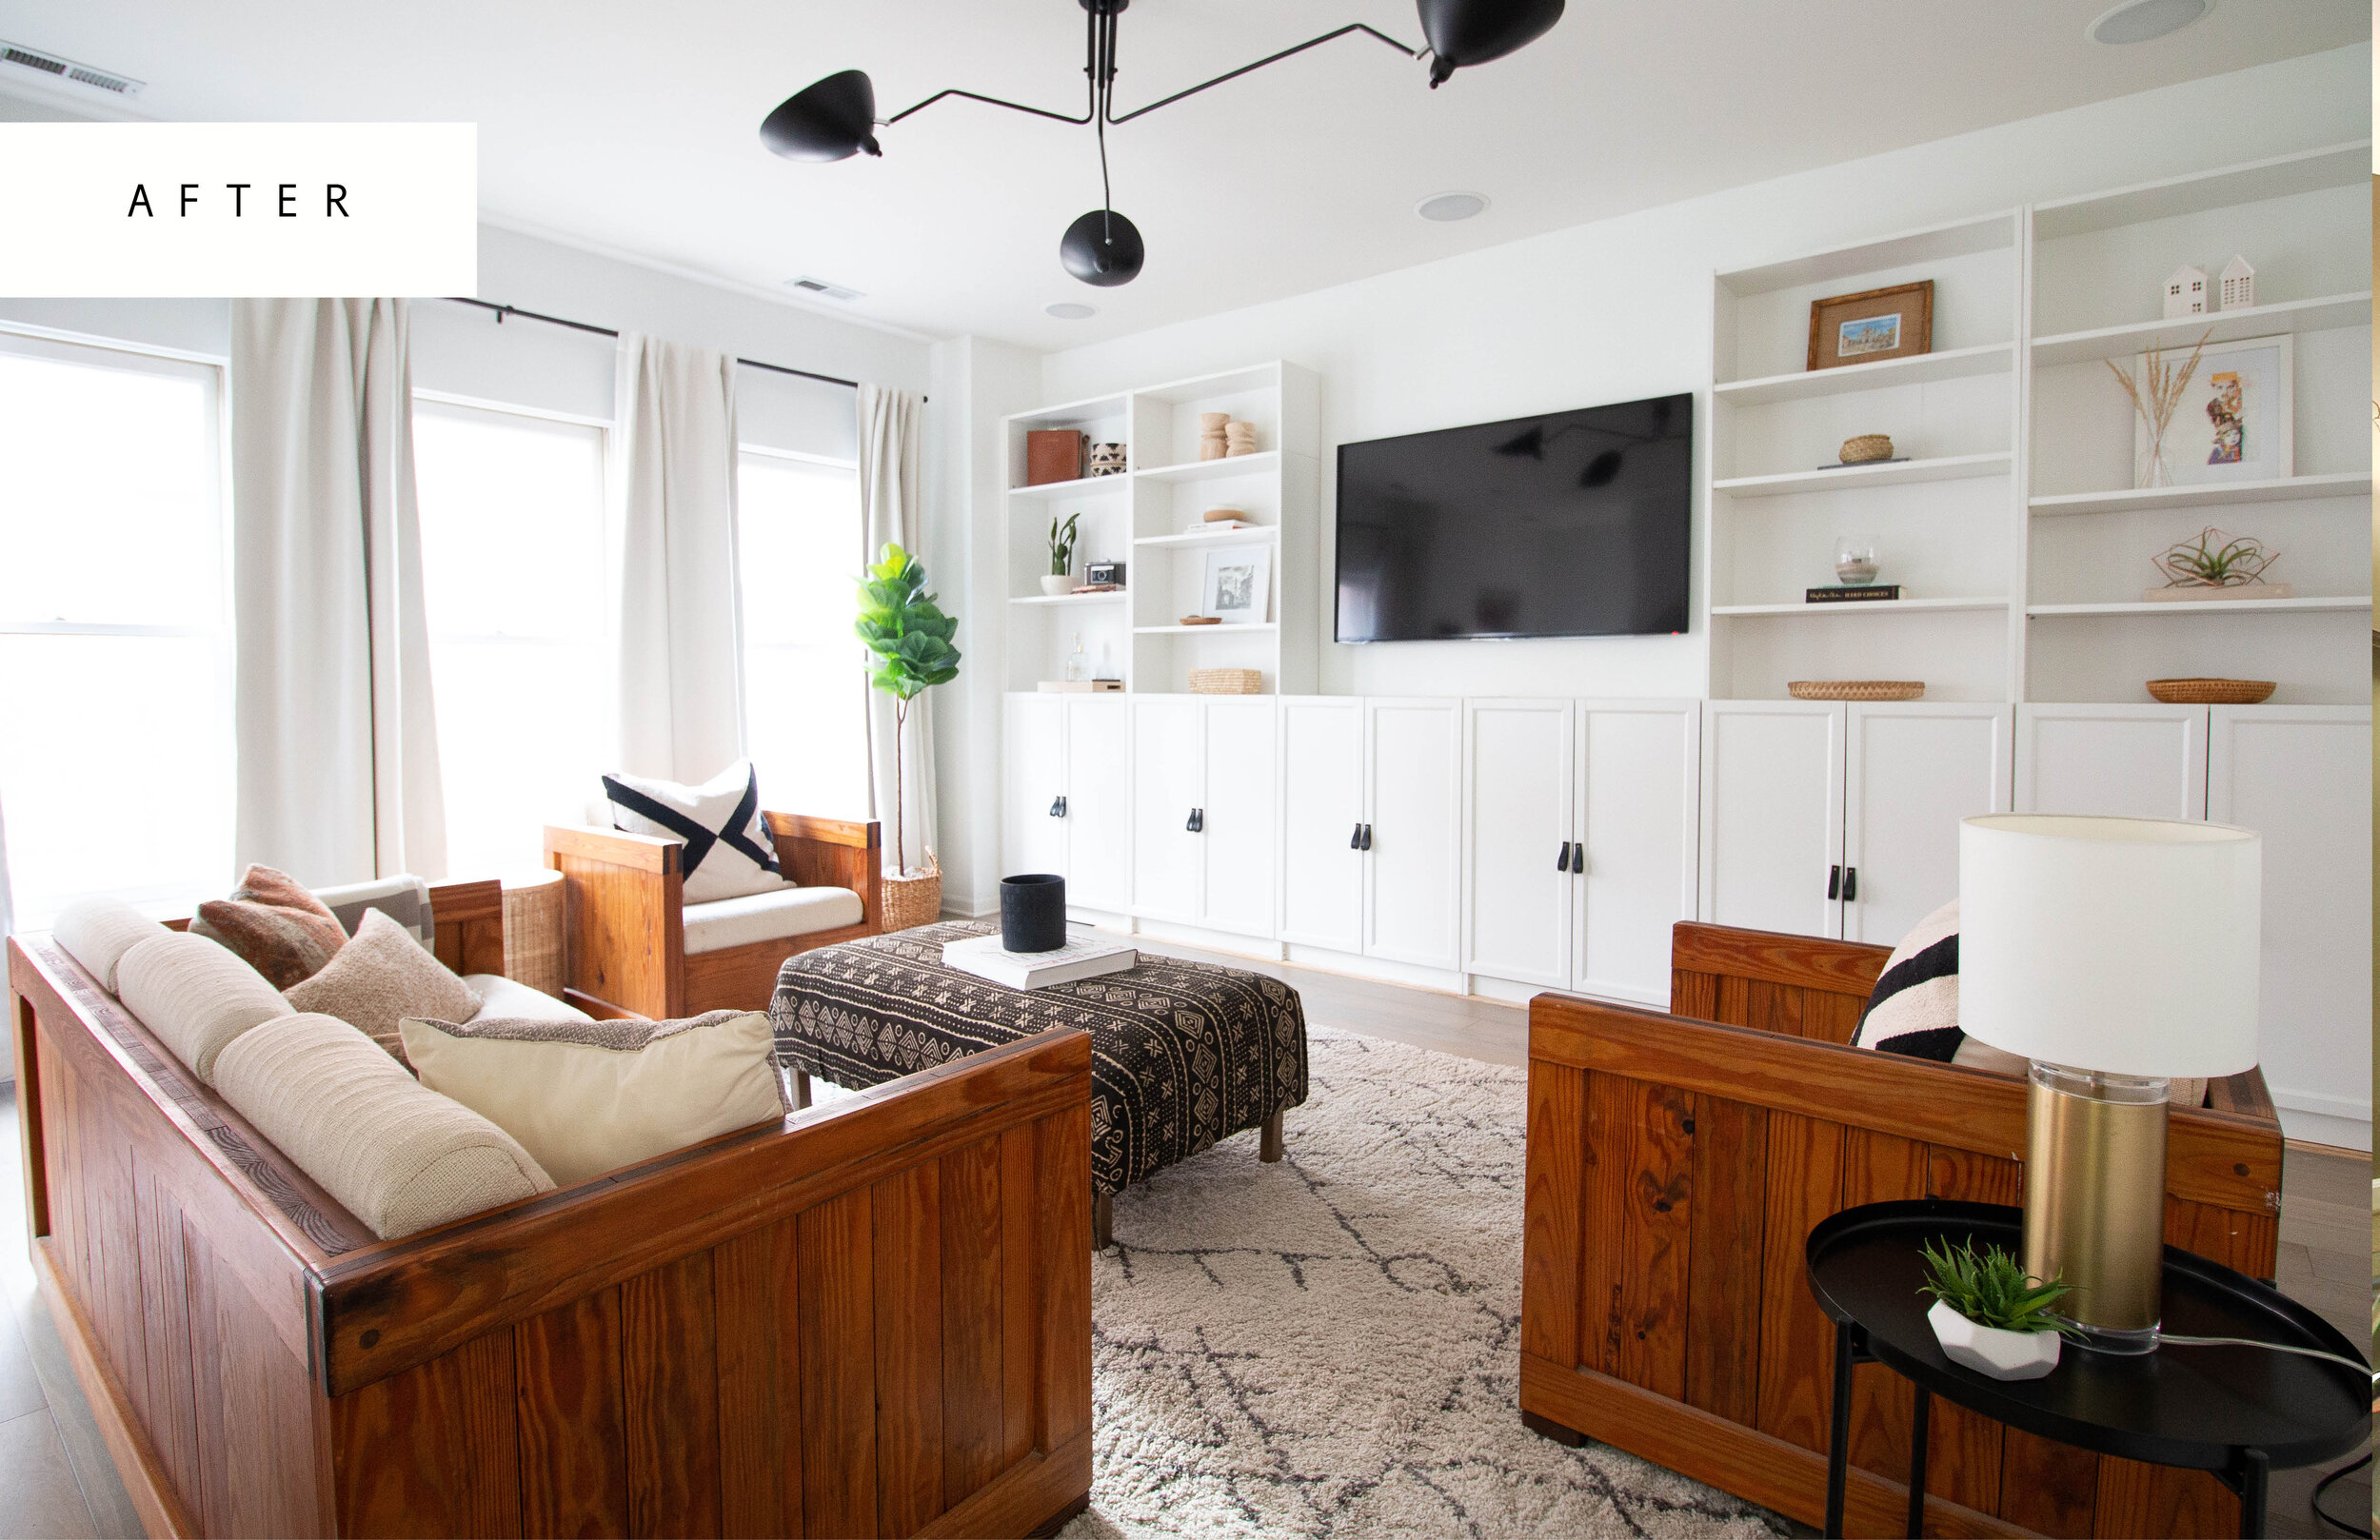
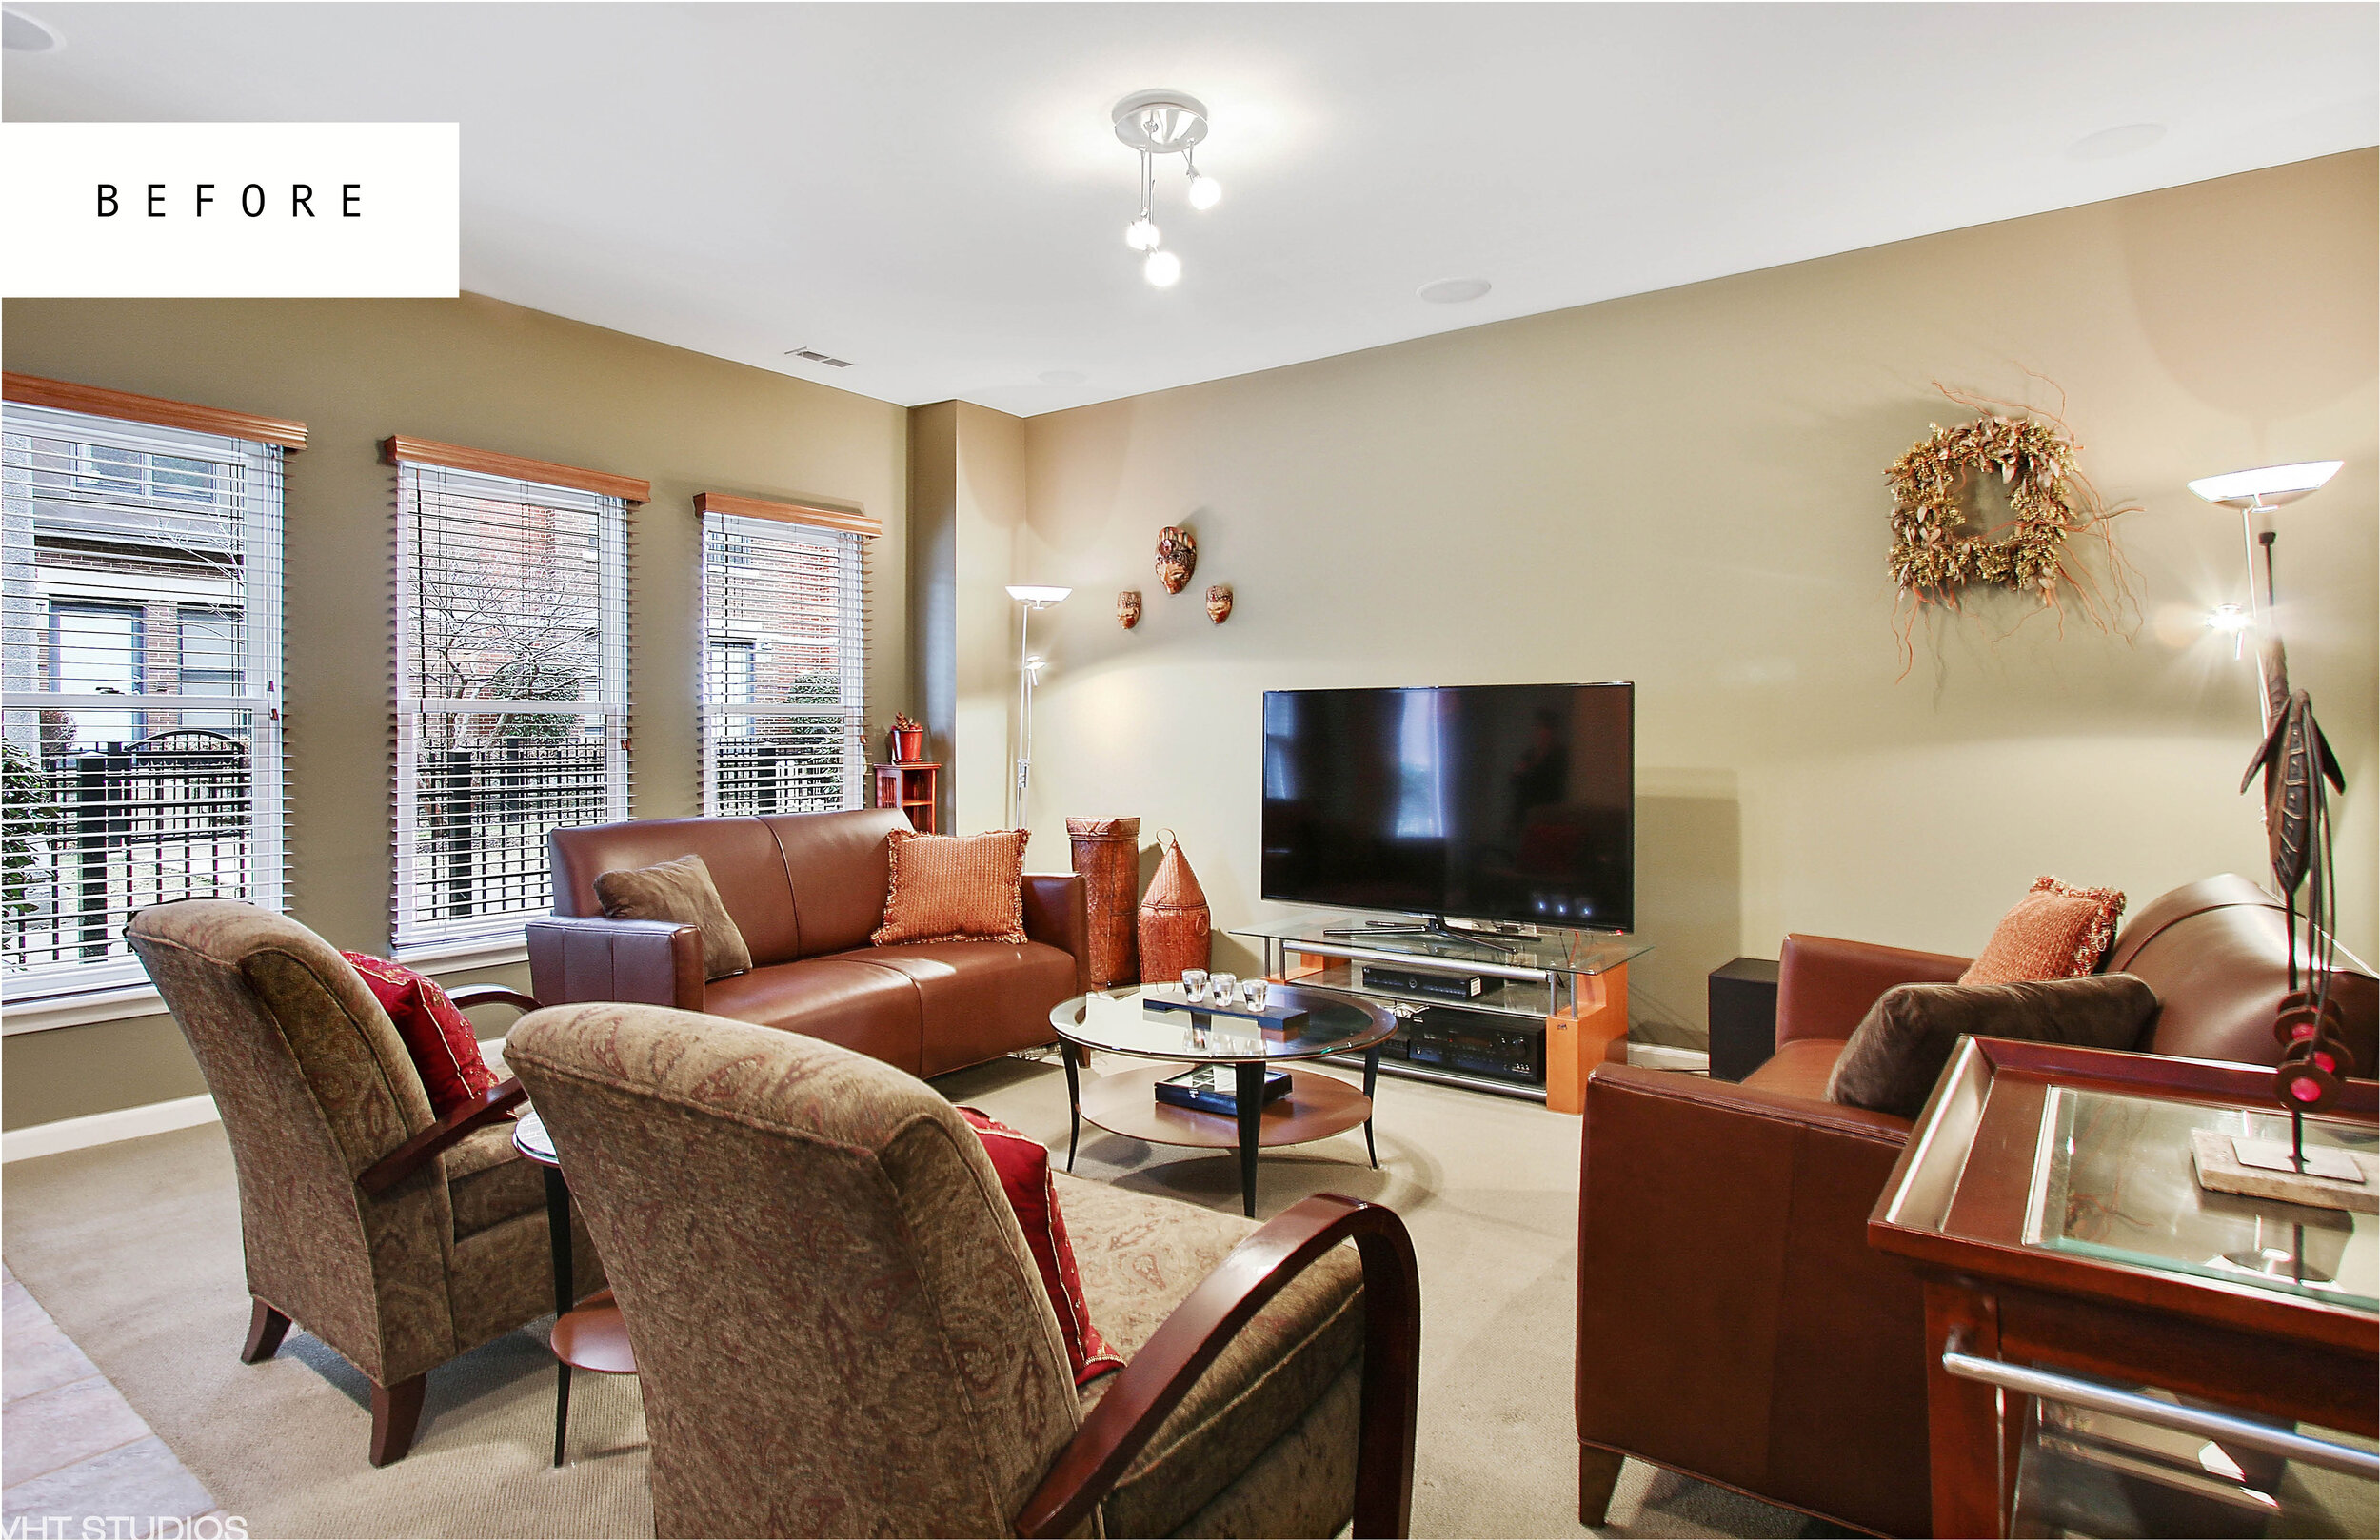
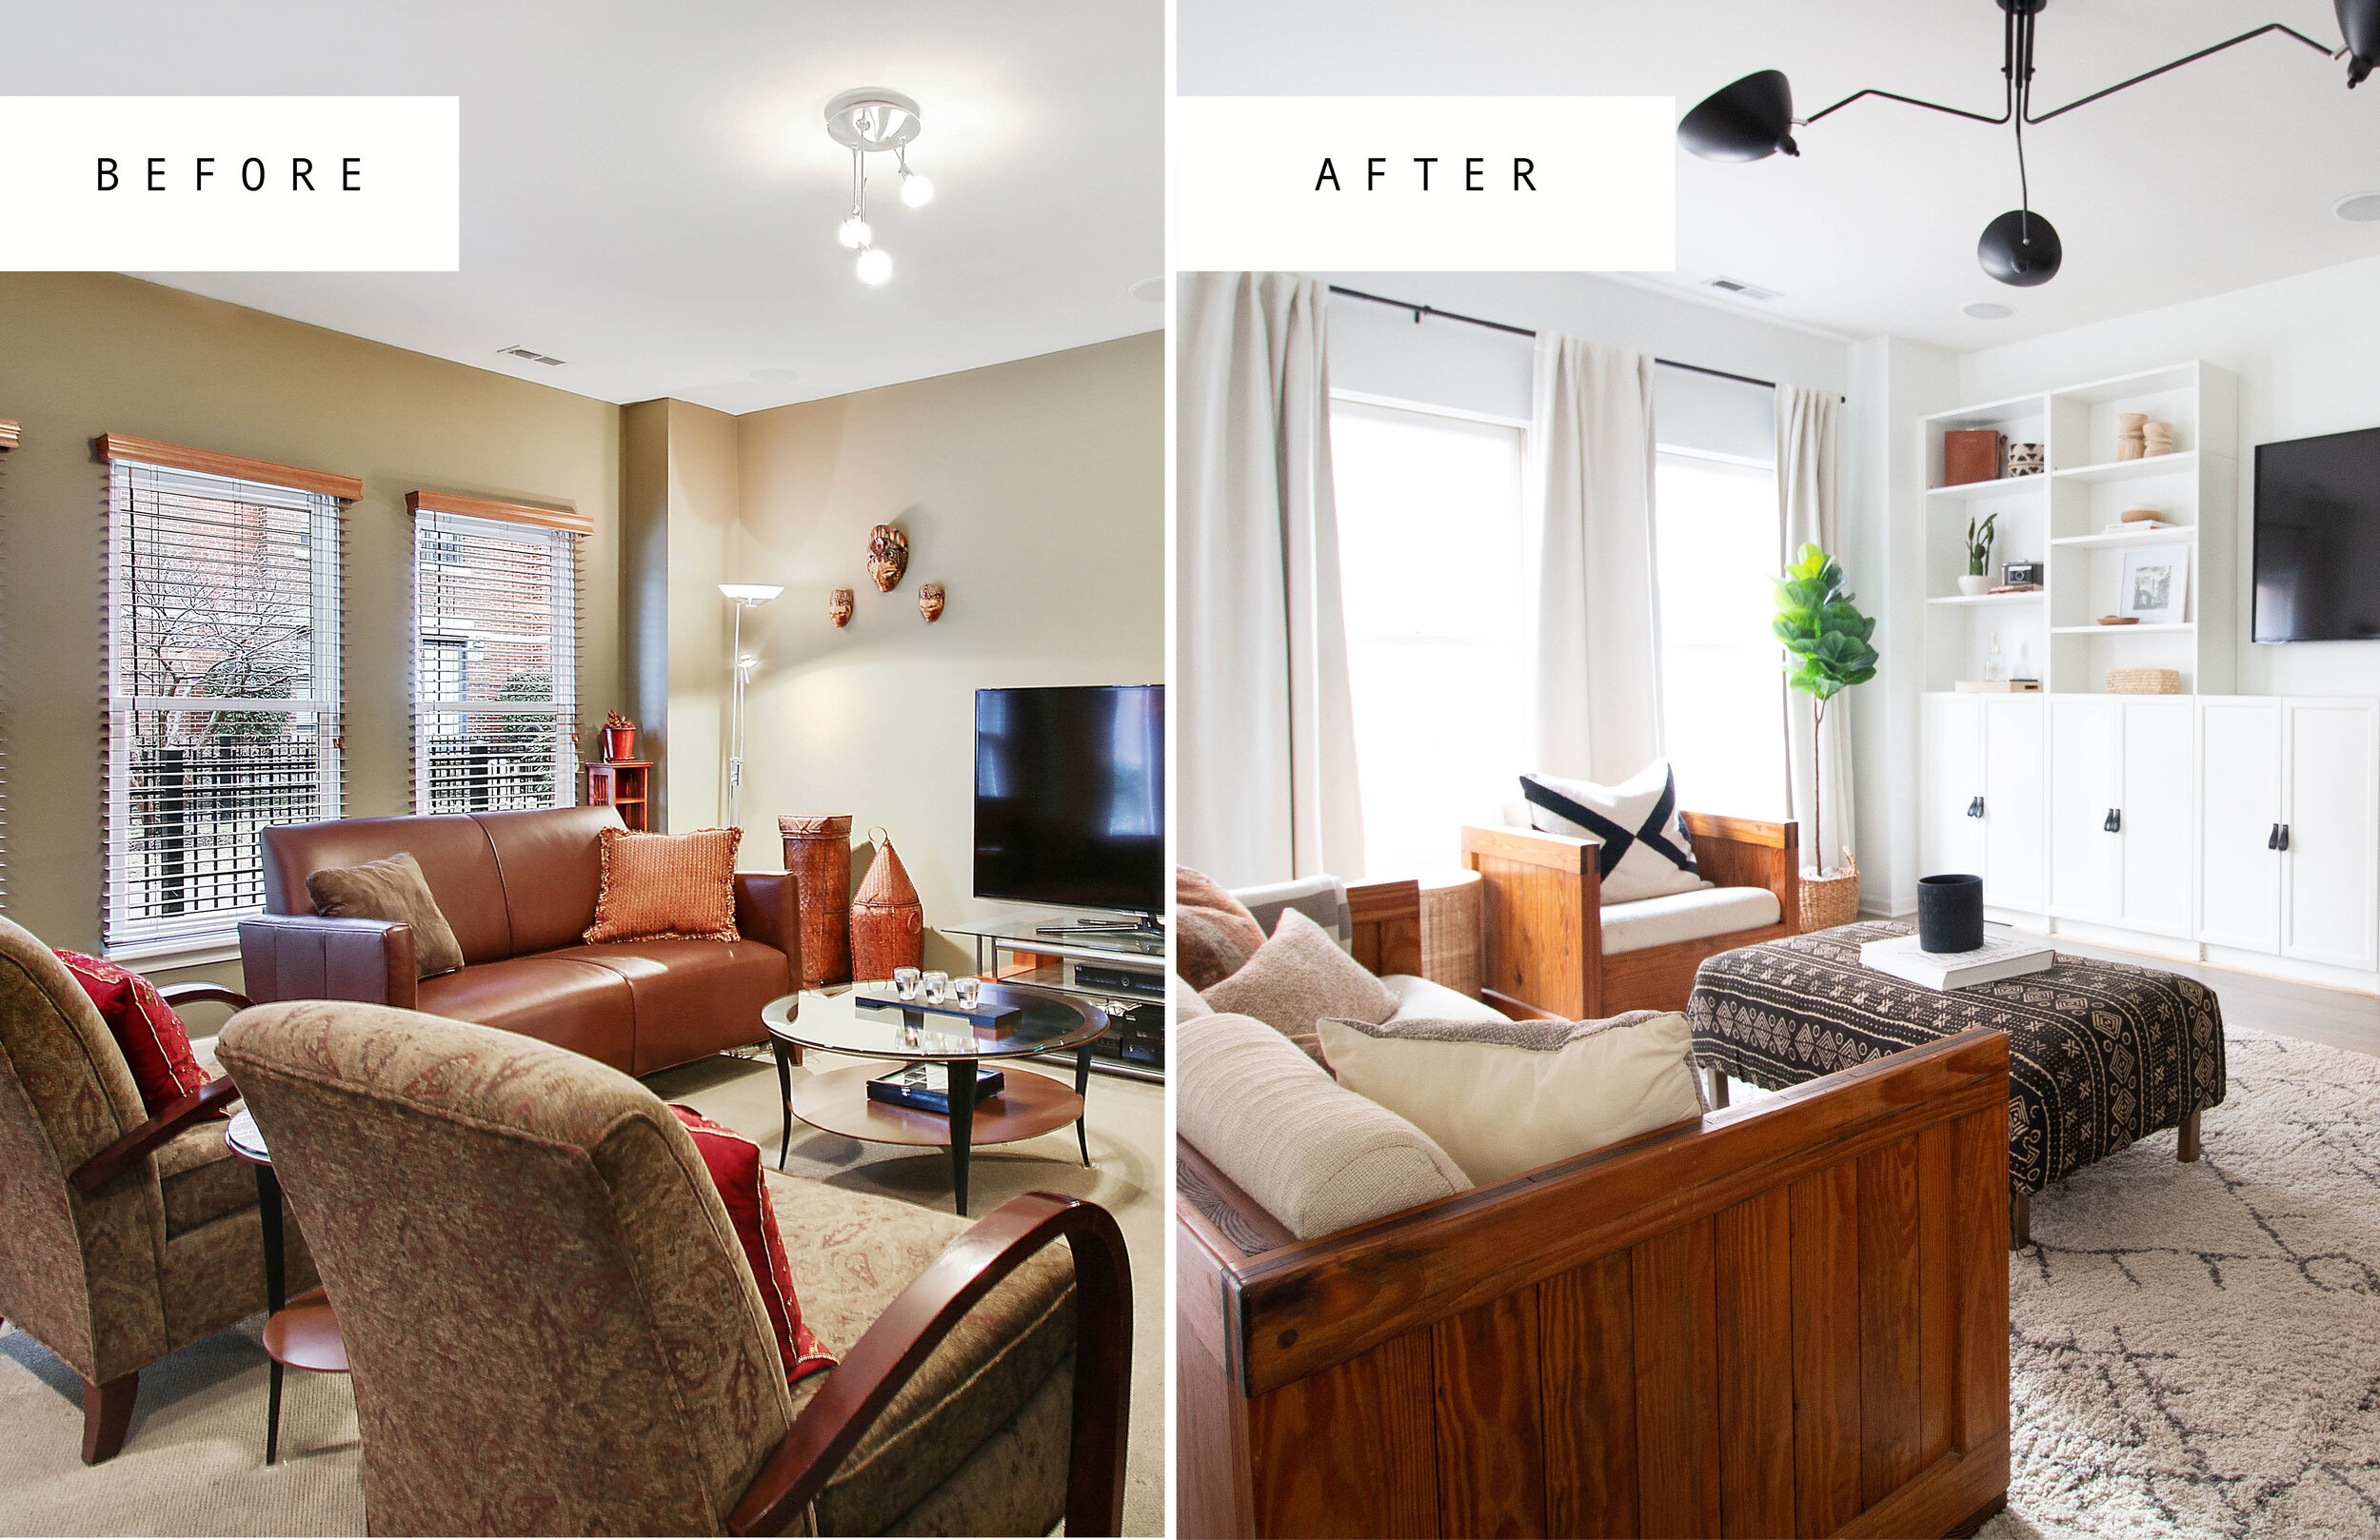
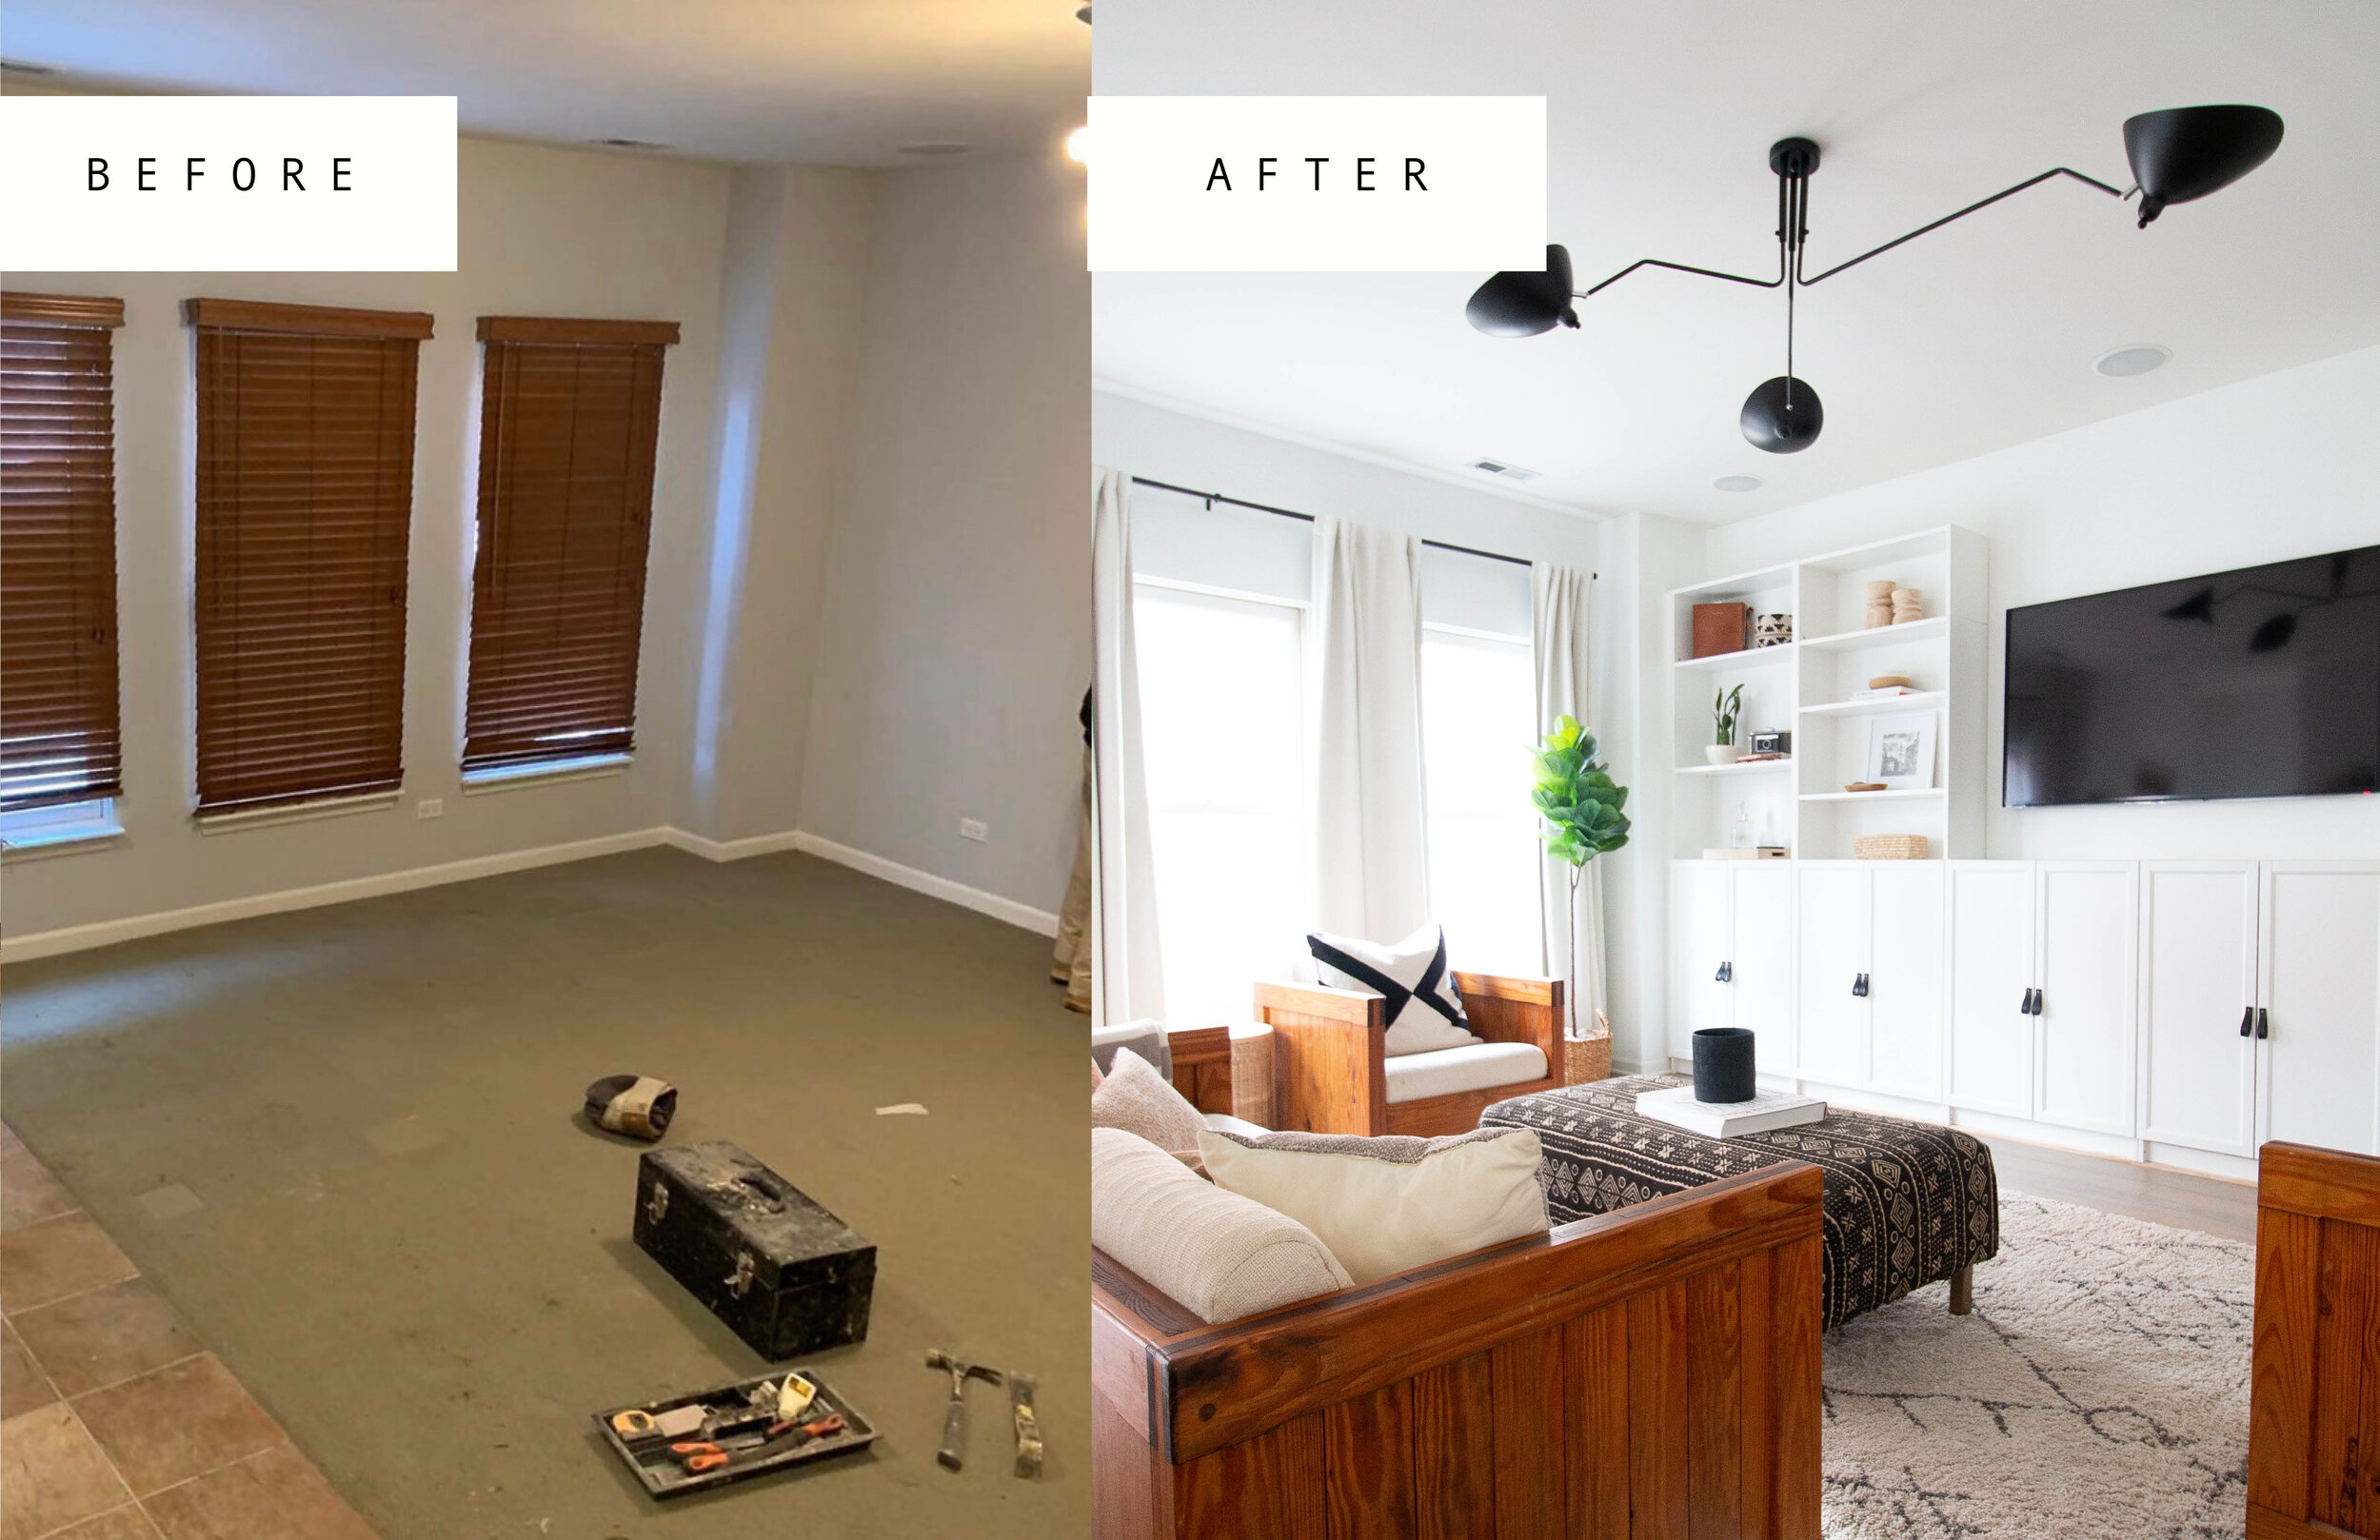
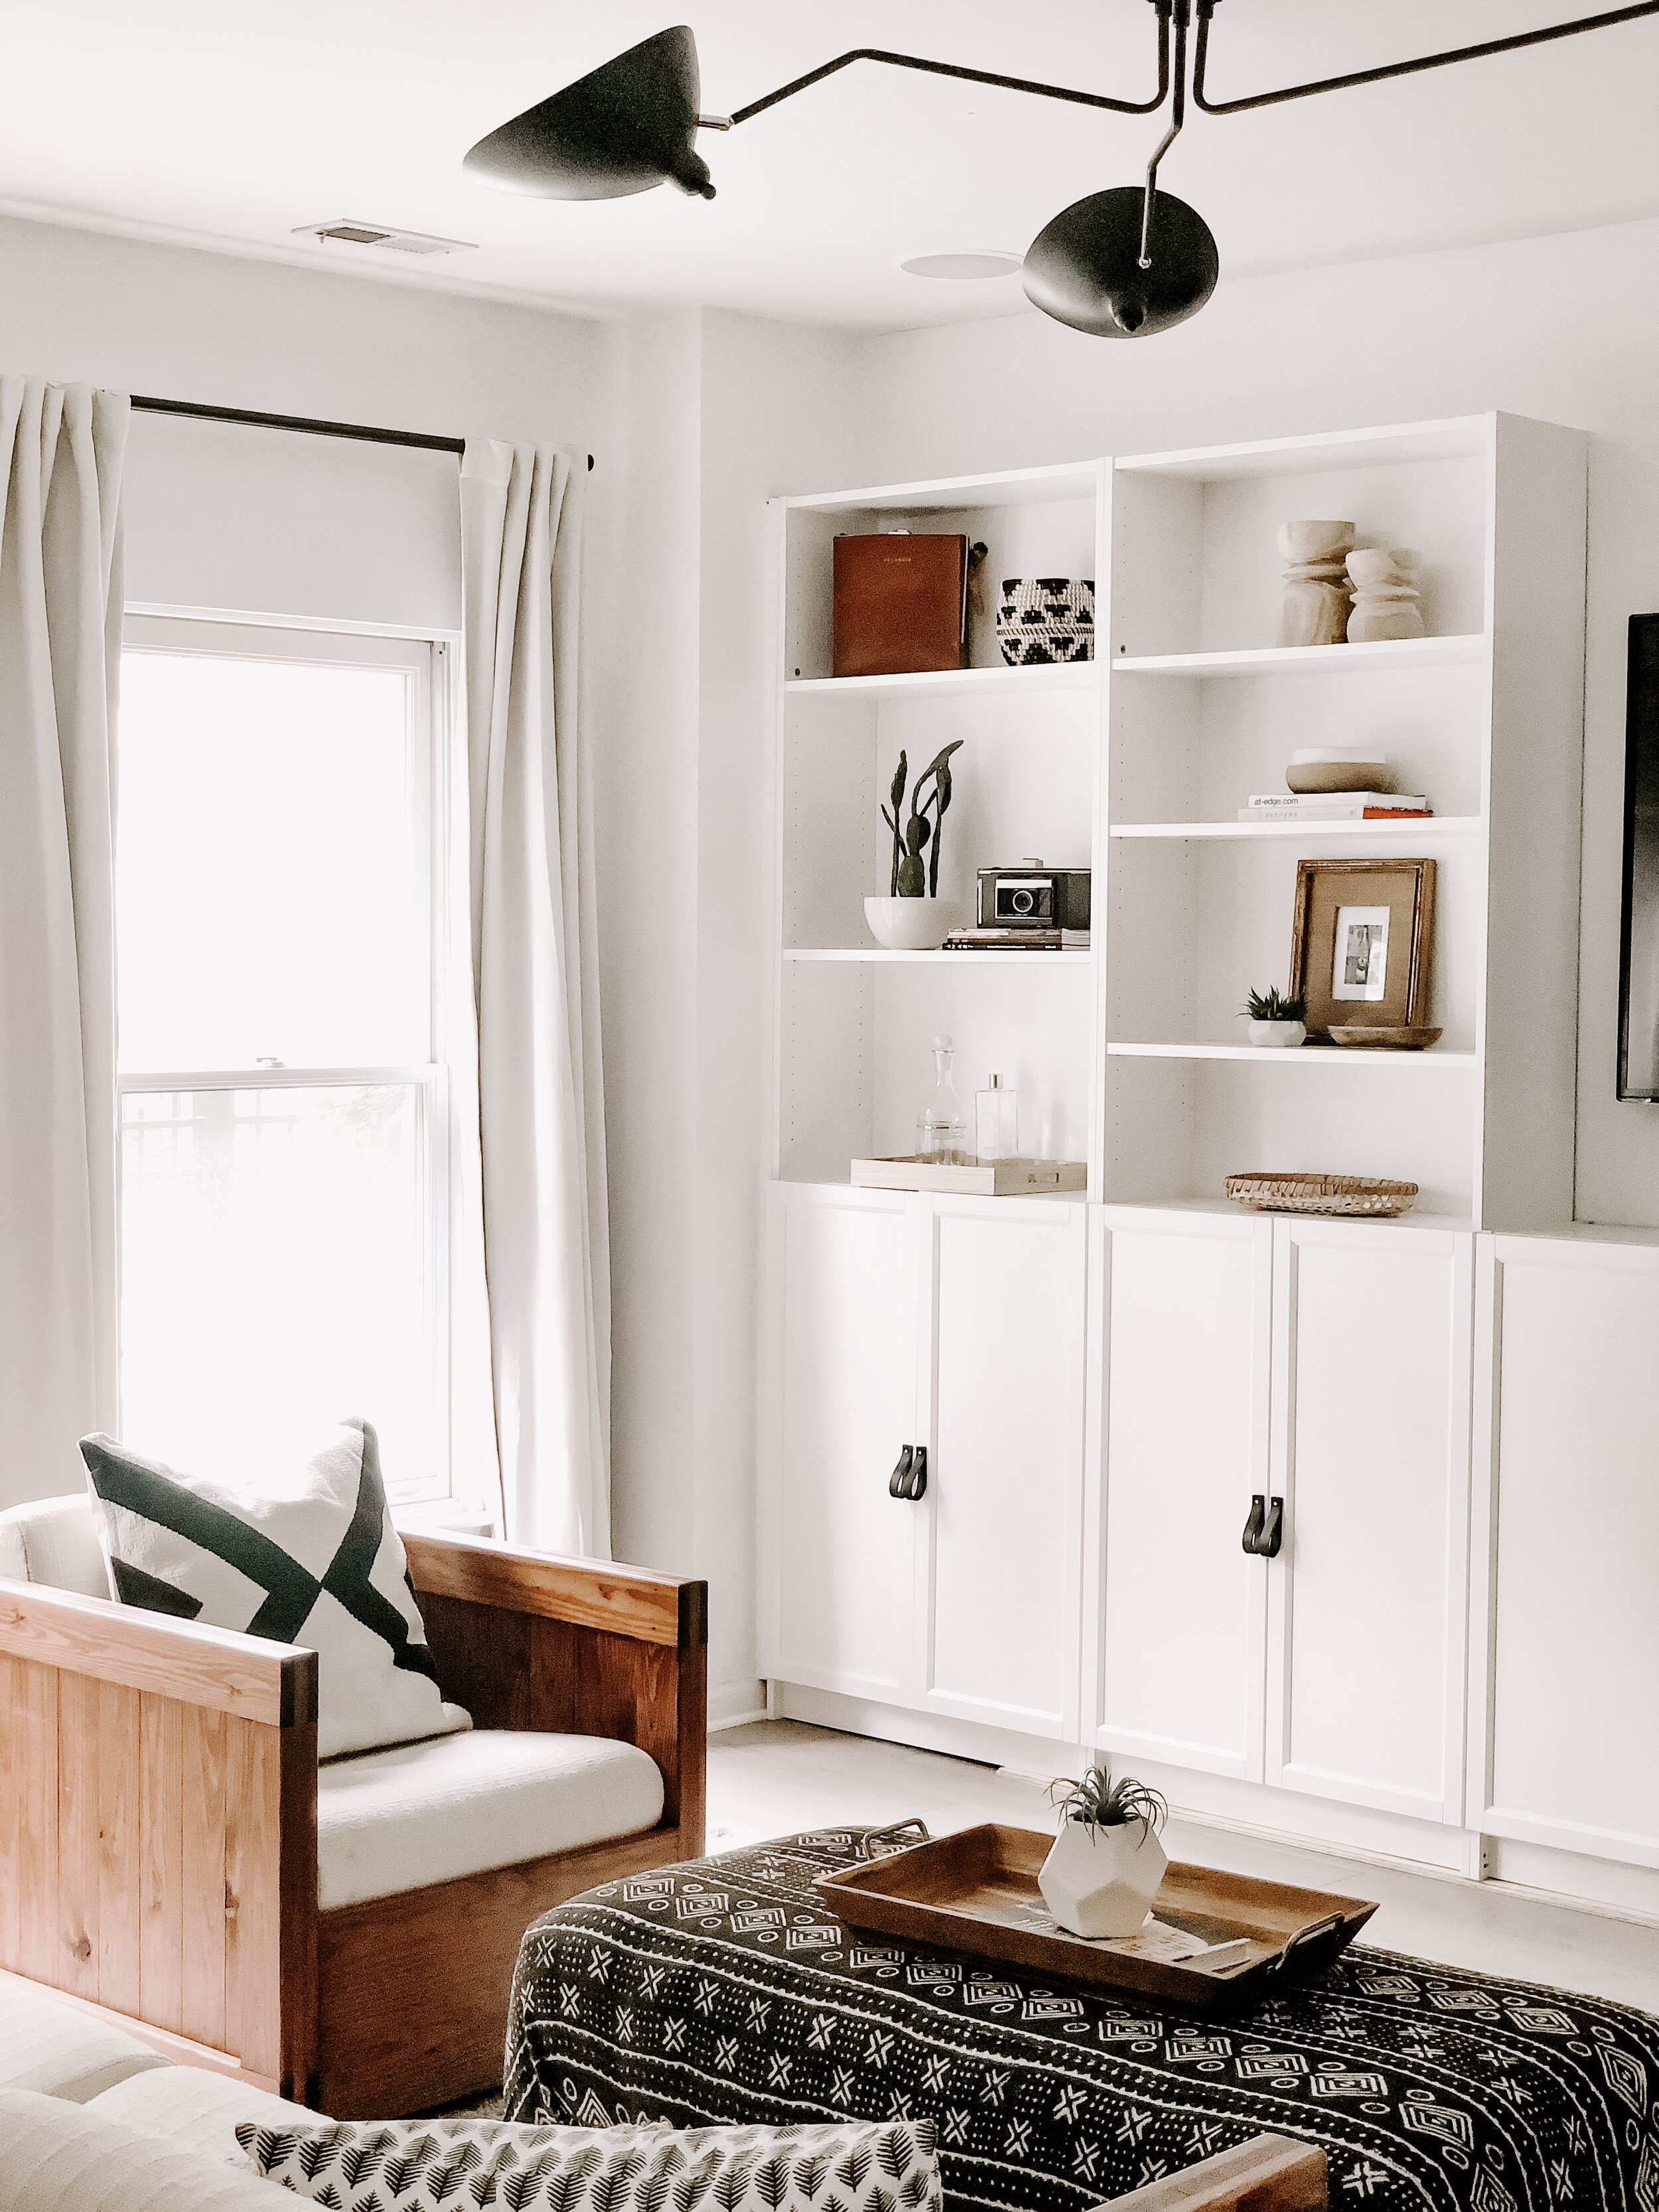
I like to call this age old Ikea Billy Bookcase Hack my “Ballin’ on a Budget Built-in”. When Chris and I were looking for a contractor to help us renovate our kitchen, we decided to get a quote on a few other items we were interested in renovating around the house as well. At the top of my list was a built-in for this empty and useless wall (pictured in listing photo below) and a fireplace facelift. SPOILER! Both quotes came in WAY higher than I expected and thus my journey to do it myself began.

I wanted to maximize this space by creating more storage, and the feeling of a bigger room. We were quoted an estimate of around $8000 for a custom built-in for the size of the space it needed to cover. I believe I actually laughed out loud when I heard this number. I’m not saying that it wasn’t a true and fair estimate for the amount of labor, materials, and craftsmanship that would no doubt go into creating something custom like this, BUT that was simply not an investment we were willing to make. Not sure when you reach $8000 shelving unit status, but until then I decided to Fake it Till’ Ya Make it! I scoured the internet for “Built-in Hacks” and came across several different versions of the “Billy Bookcase Hack”. I ultimately favorited the Bless’er House Blogs tutorial.
Let me just say, BLESS HER!!! Thanks to this easy to follow tutorial we got the look for less and knocked a whole ZERO off that contractor price tag, making the cost of the ENTIRE finished project ALL IN $800 dollars! A bit more on our process below, including a few of the tweaks we made to the original tutorial we were following listed out in the instructions below. Also a list of the products purchased from IKEA:
2 32″x42″ Billy bookcases with doors
As an art director I’m personally a HUGE fan of the IKEA ‘pictures only’ instruction manual. It drives, Chris (my husband) absolutely bonkers. I find it to be somewhat satisfying…like doing a 3D puzzle, ha. So I poured myself a cup of coffee, turned on a podcast and got started.
INSTRUCTIONS:
Assemble all shelves

Next, I assembled the two smaller units.
2.) Cut holes in back of units for electrical IF you will have a TV or anything “in” the unit
3.) Secure units to wall
4.) Paint surrounding walls to match IKEA units.
The color we found to work best was Benjamin Moor – Super White

5.) If there is space on either side of your unit, fill with your precut wood
6.) Add Doors / shelves.

7.) Seal seam between wood and wall with (link coming soon)
8.) Add Hardware. I opted for different hardware than what came with the units. I chose these single screw leather pulls from Etsy.
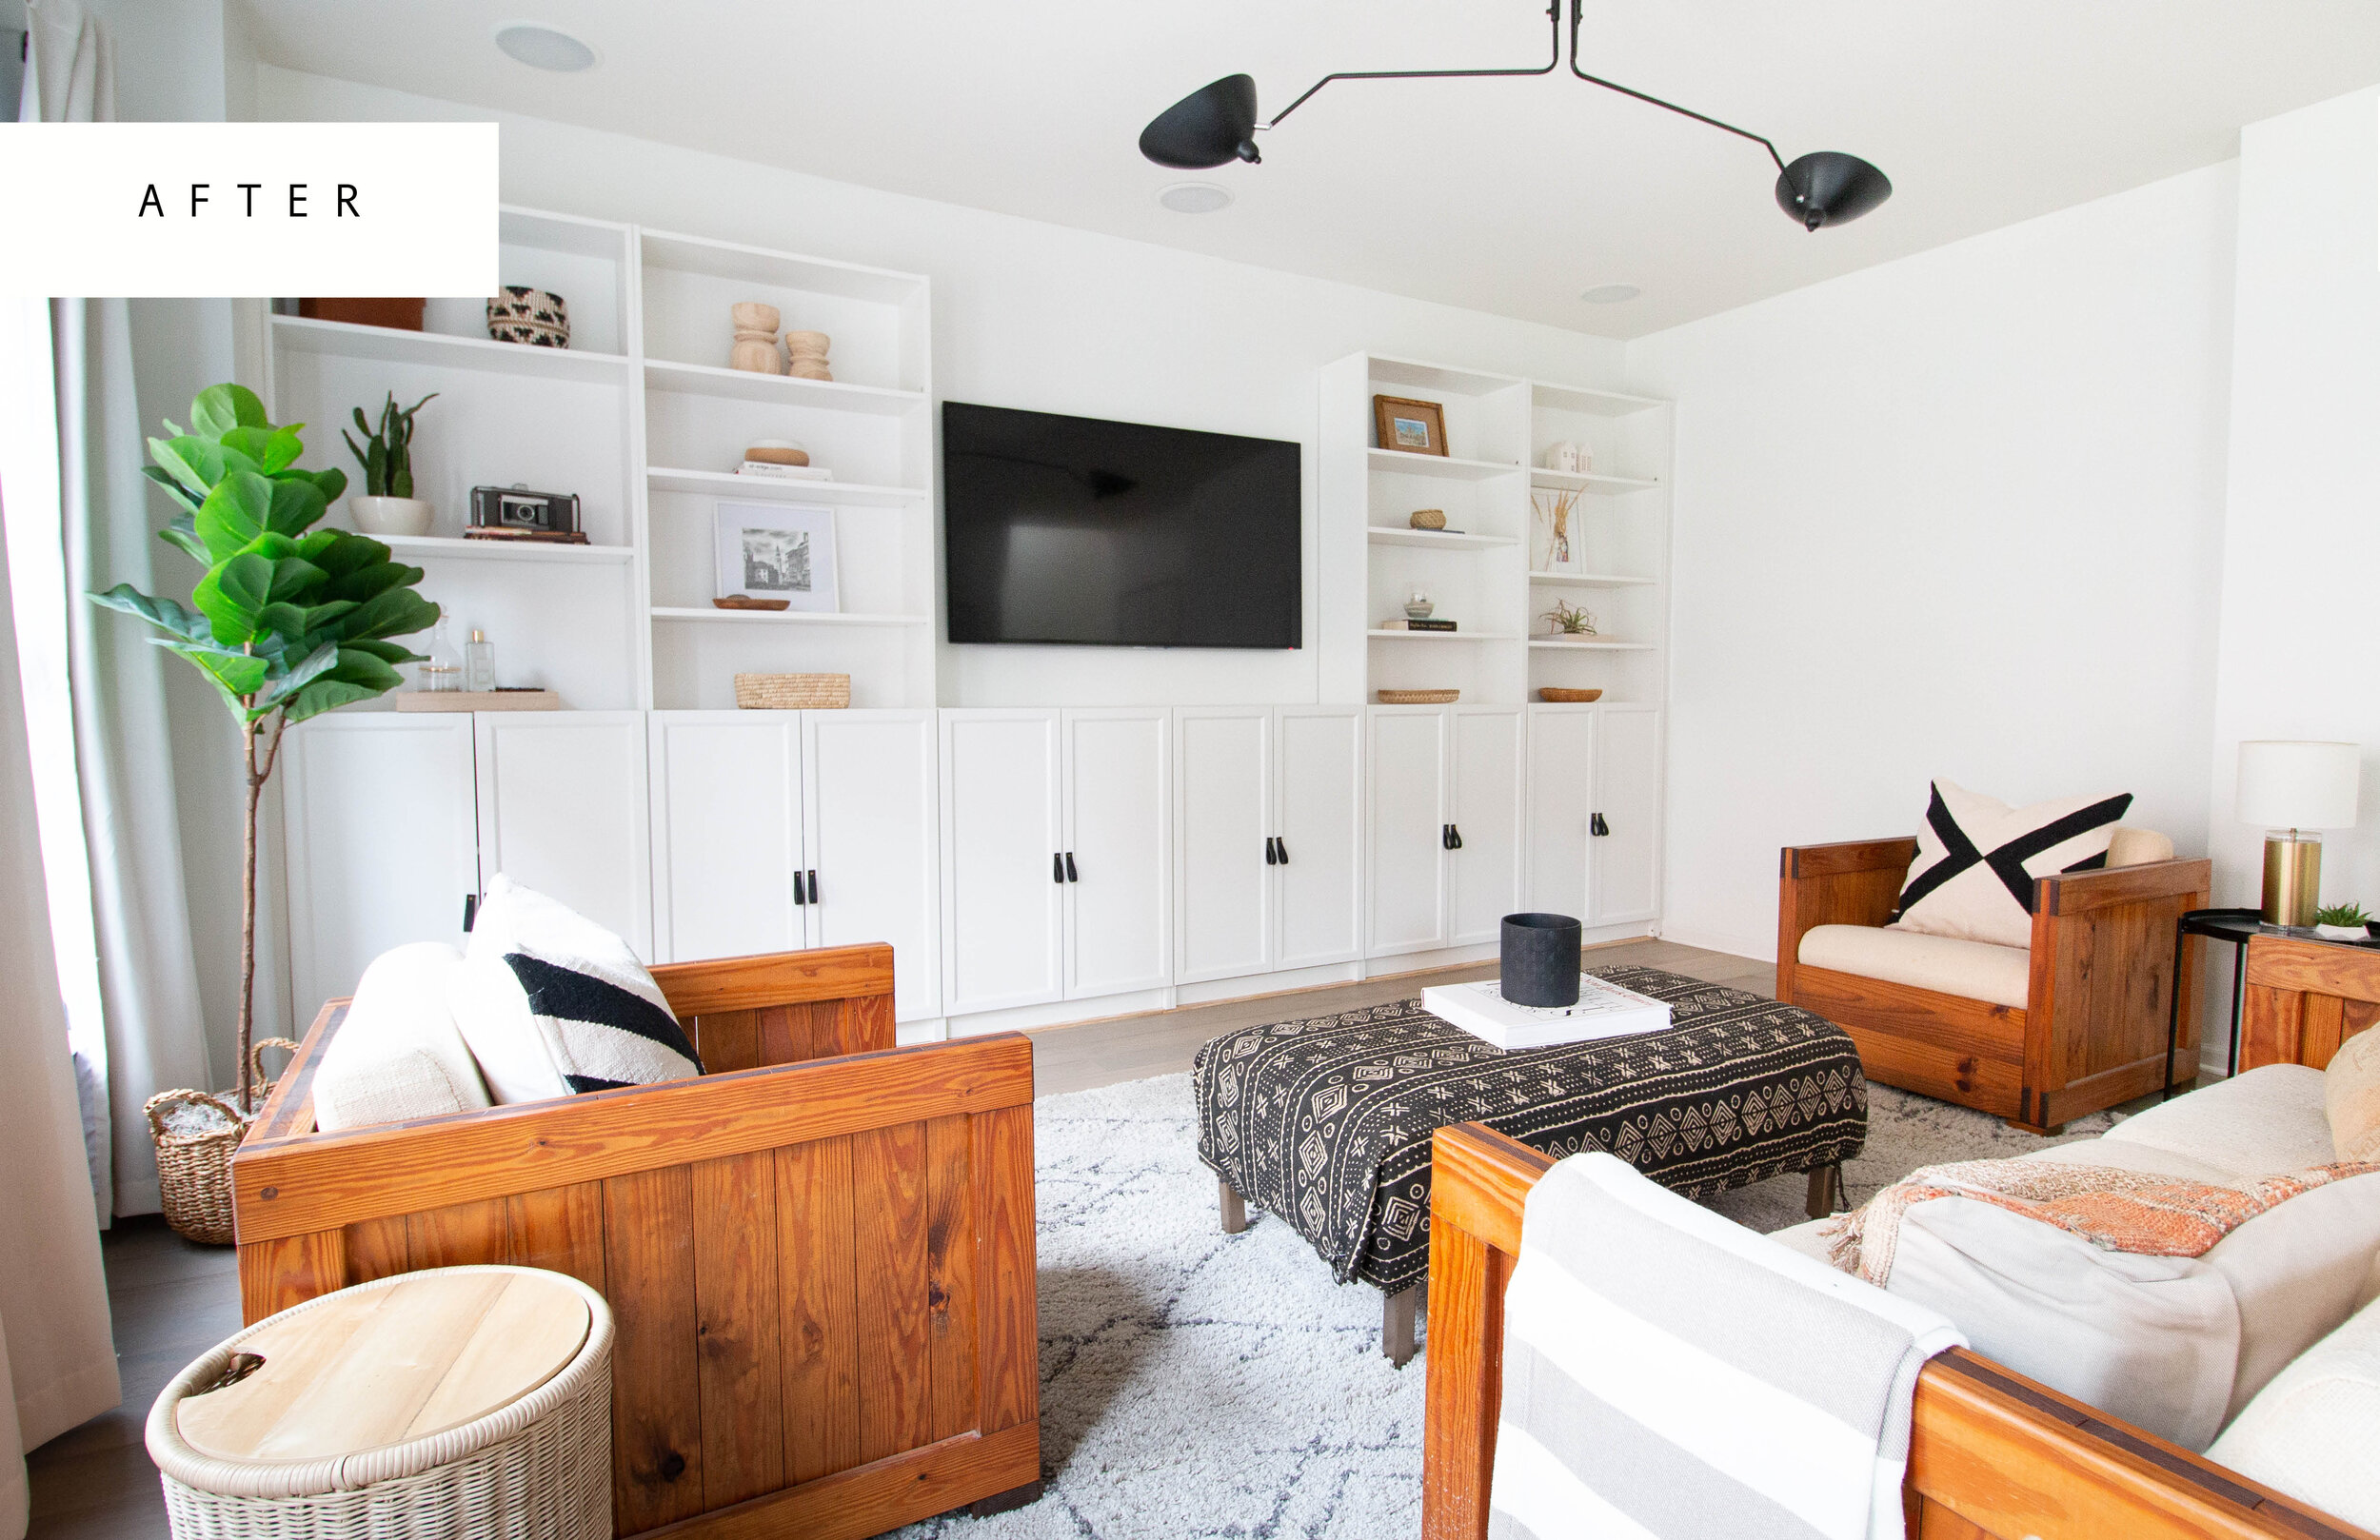
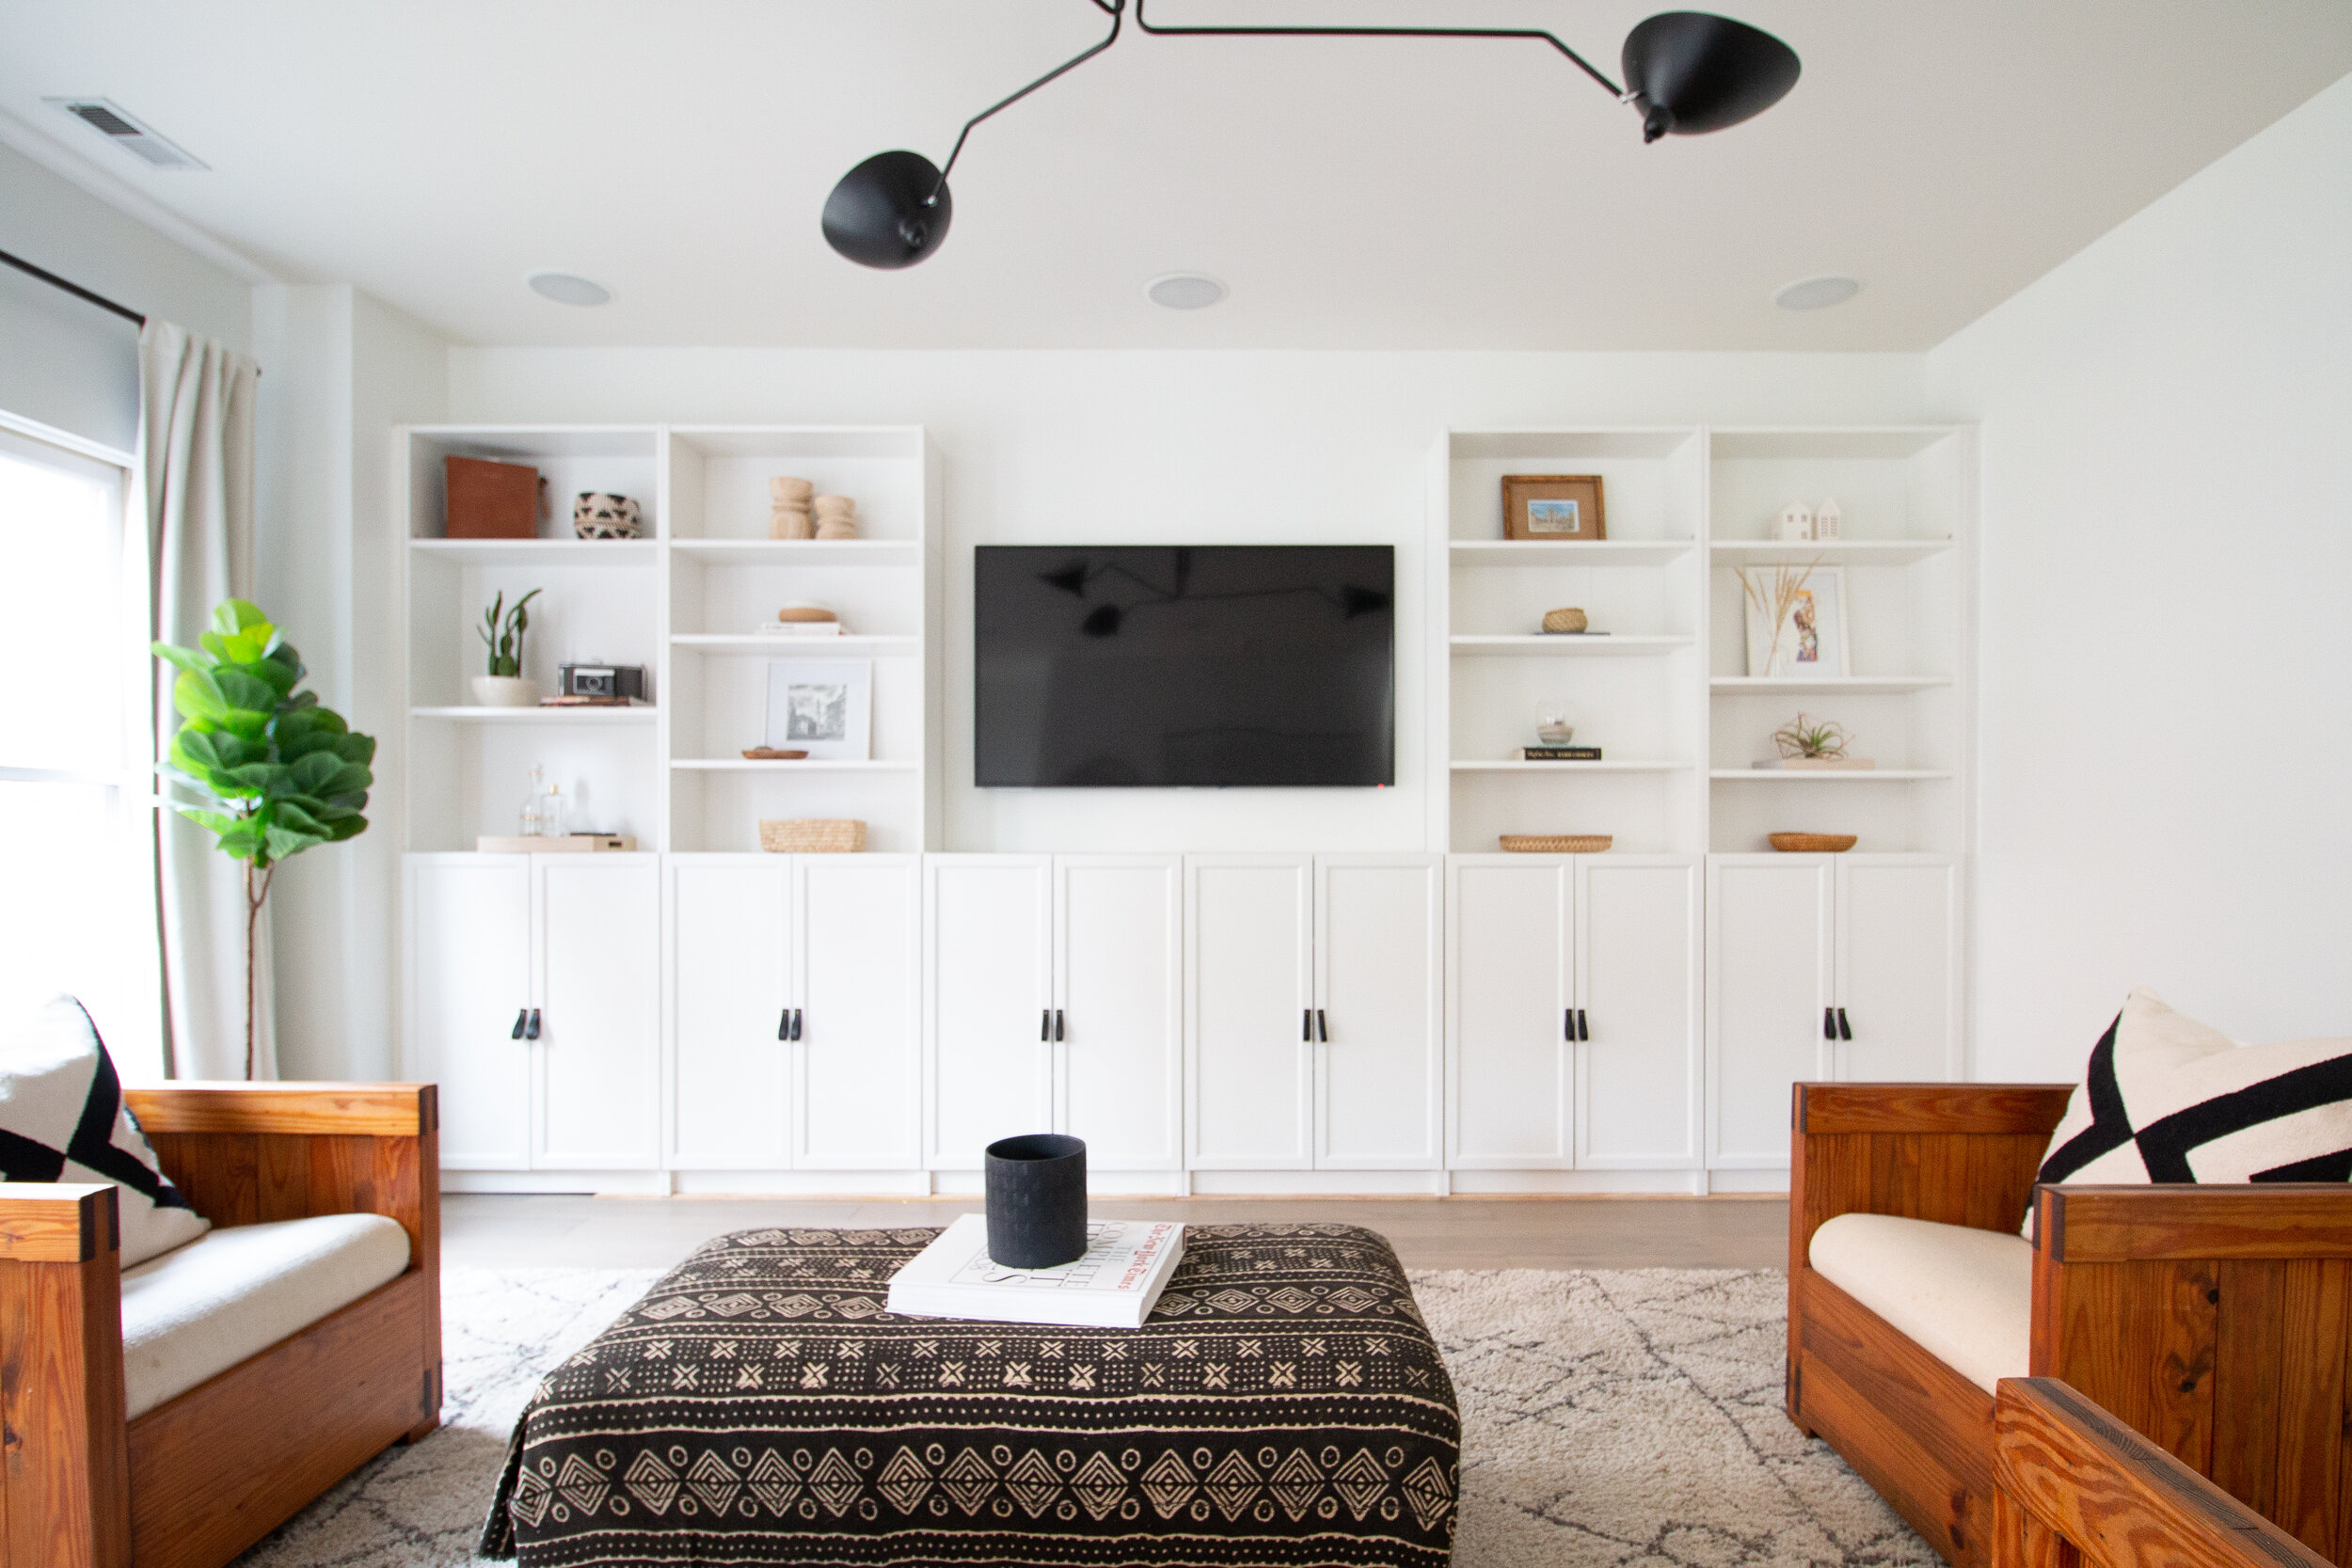
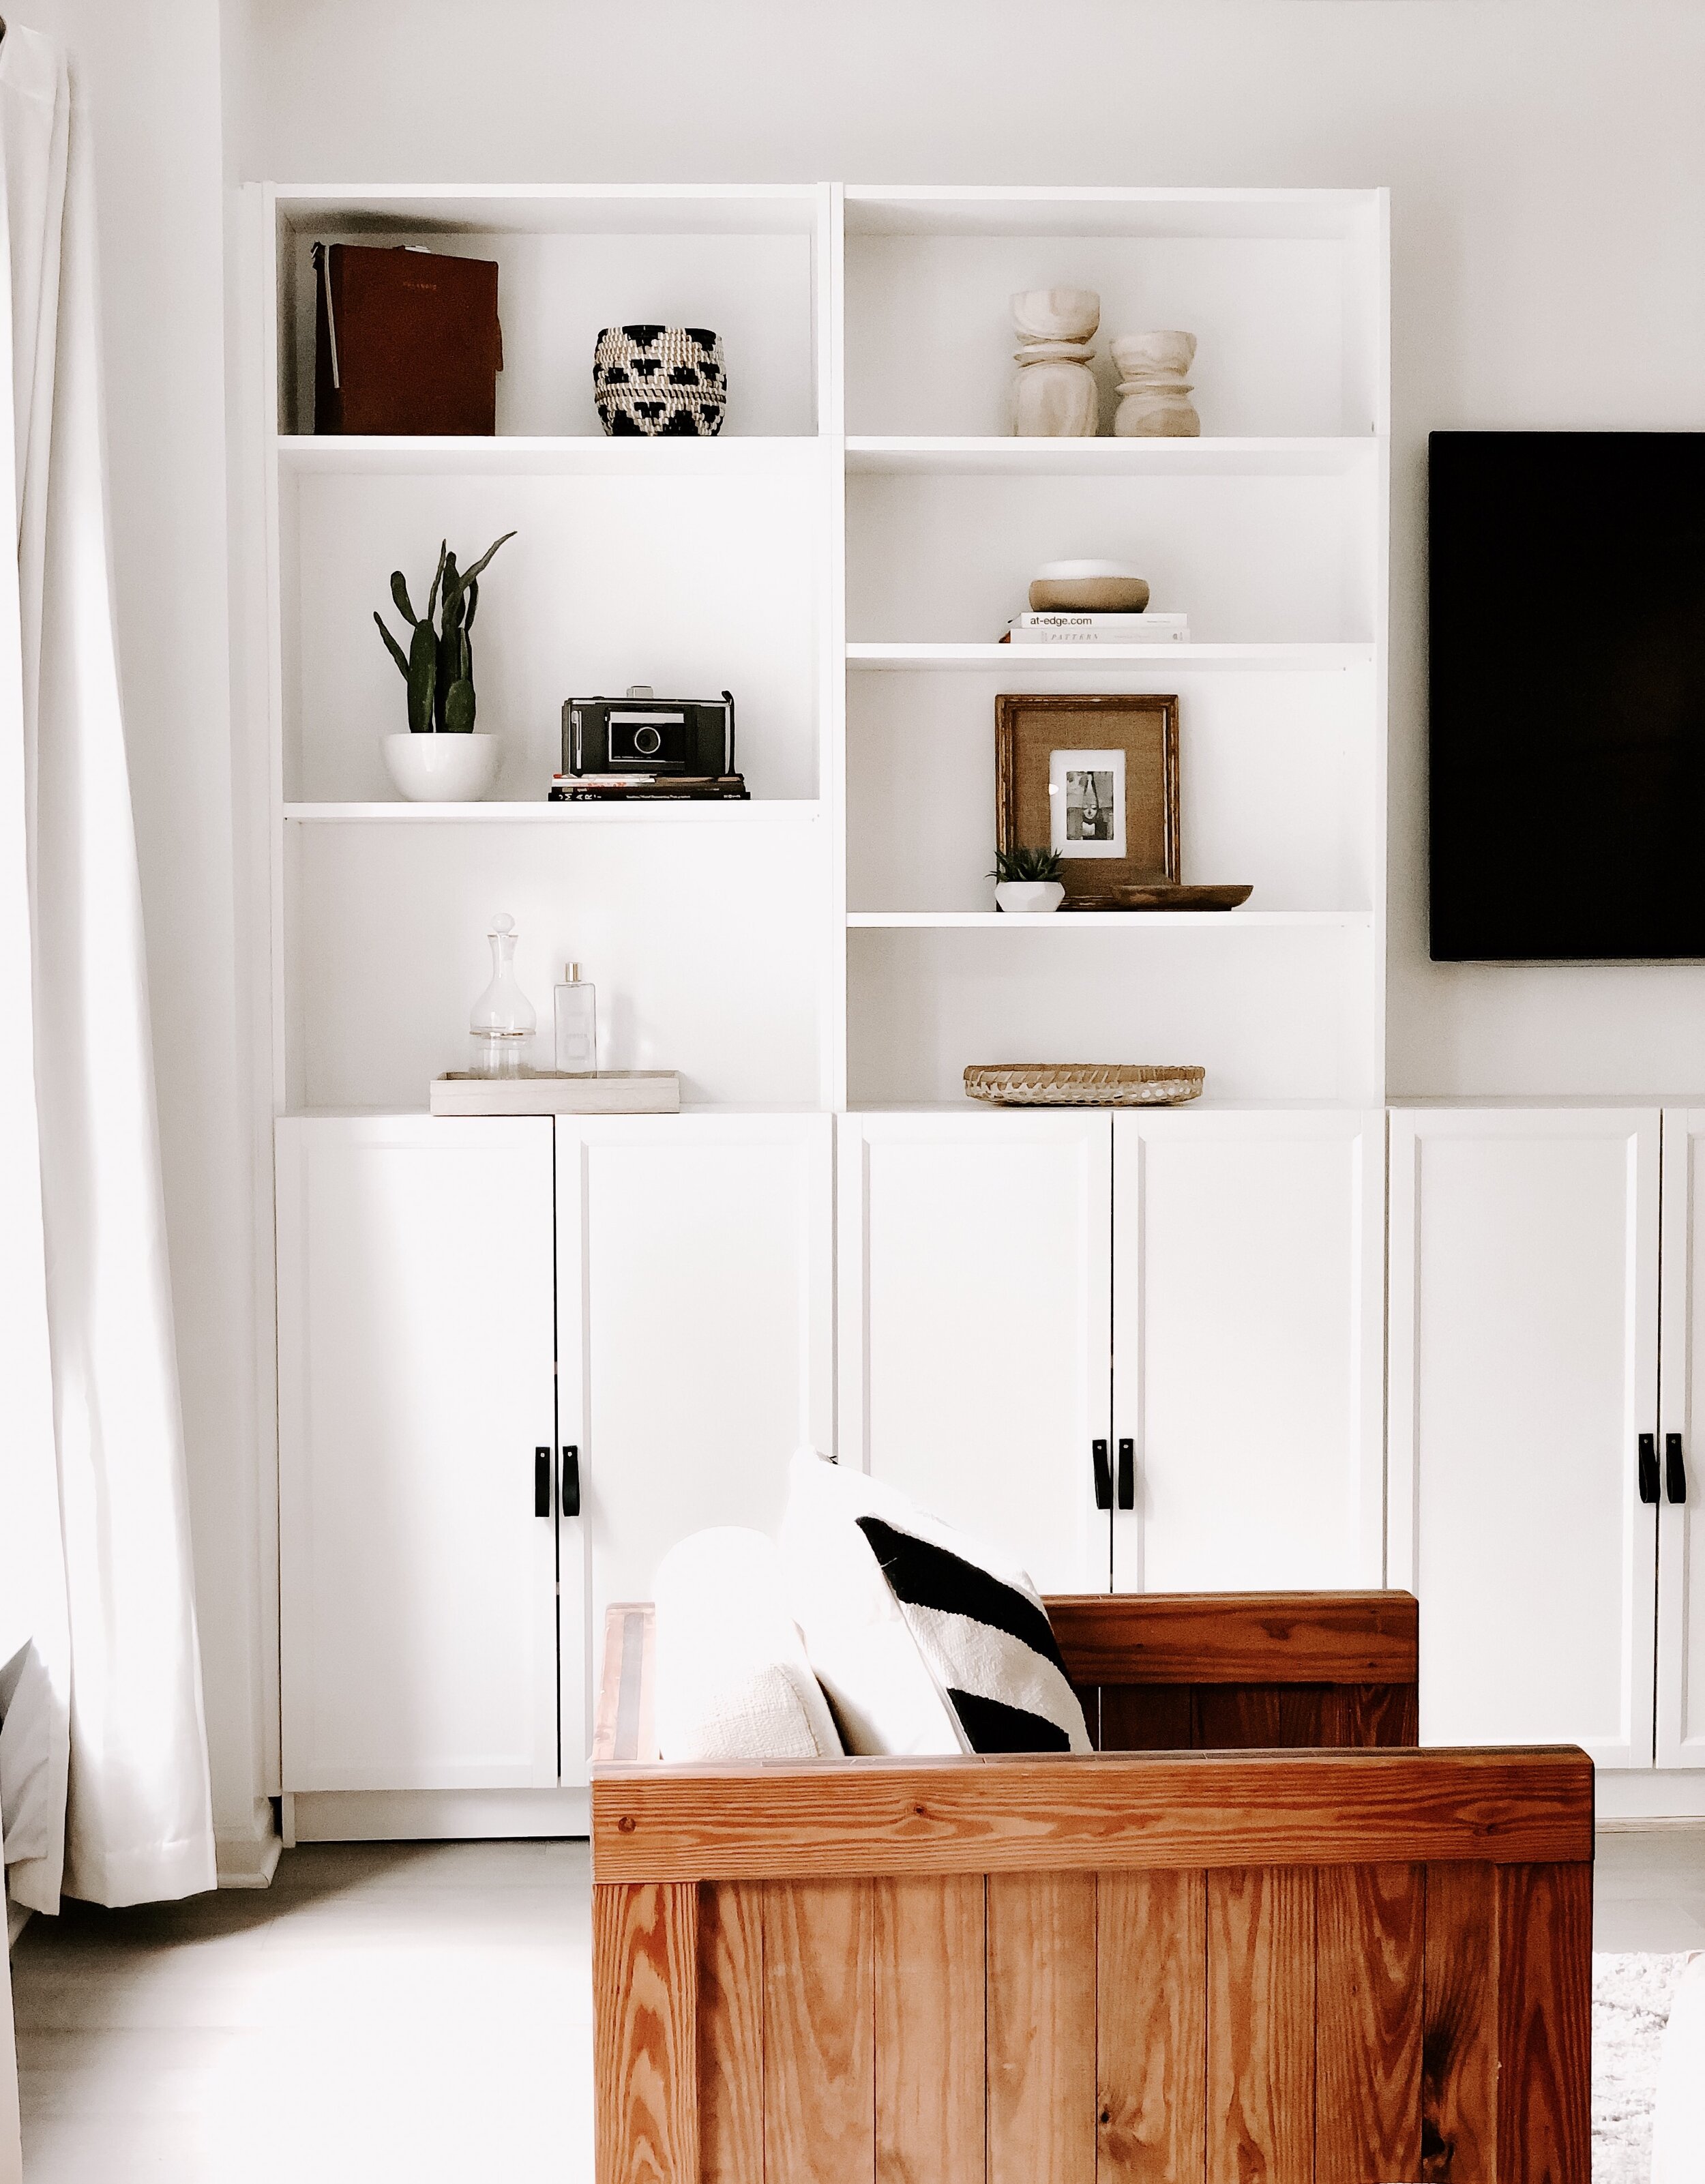
9.) FINALLY! STYLE, STYLE, STYLE!!!!! And STYLE SOME MORE…. (but wait to “style” until AFTER the shelves are all built…

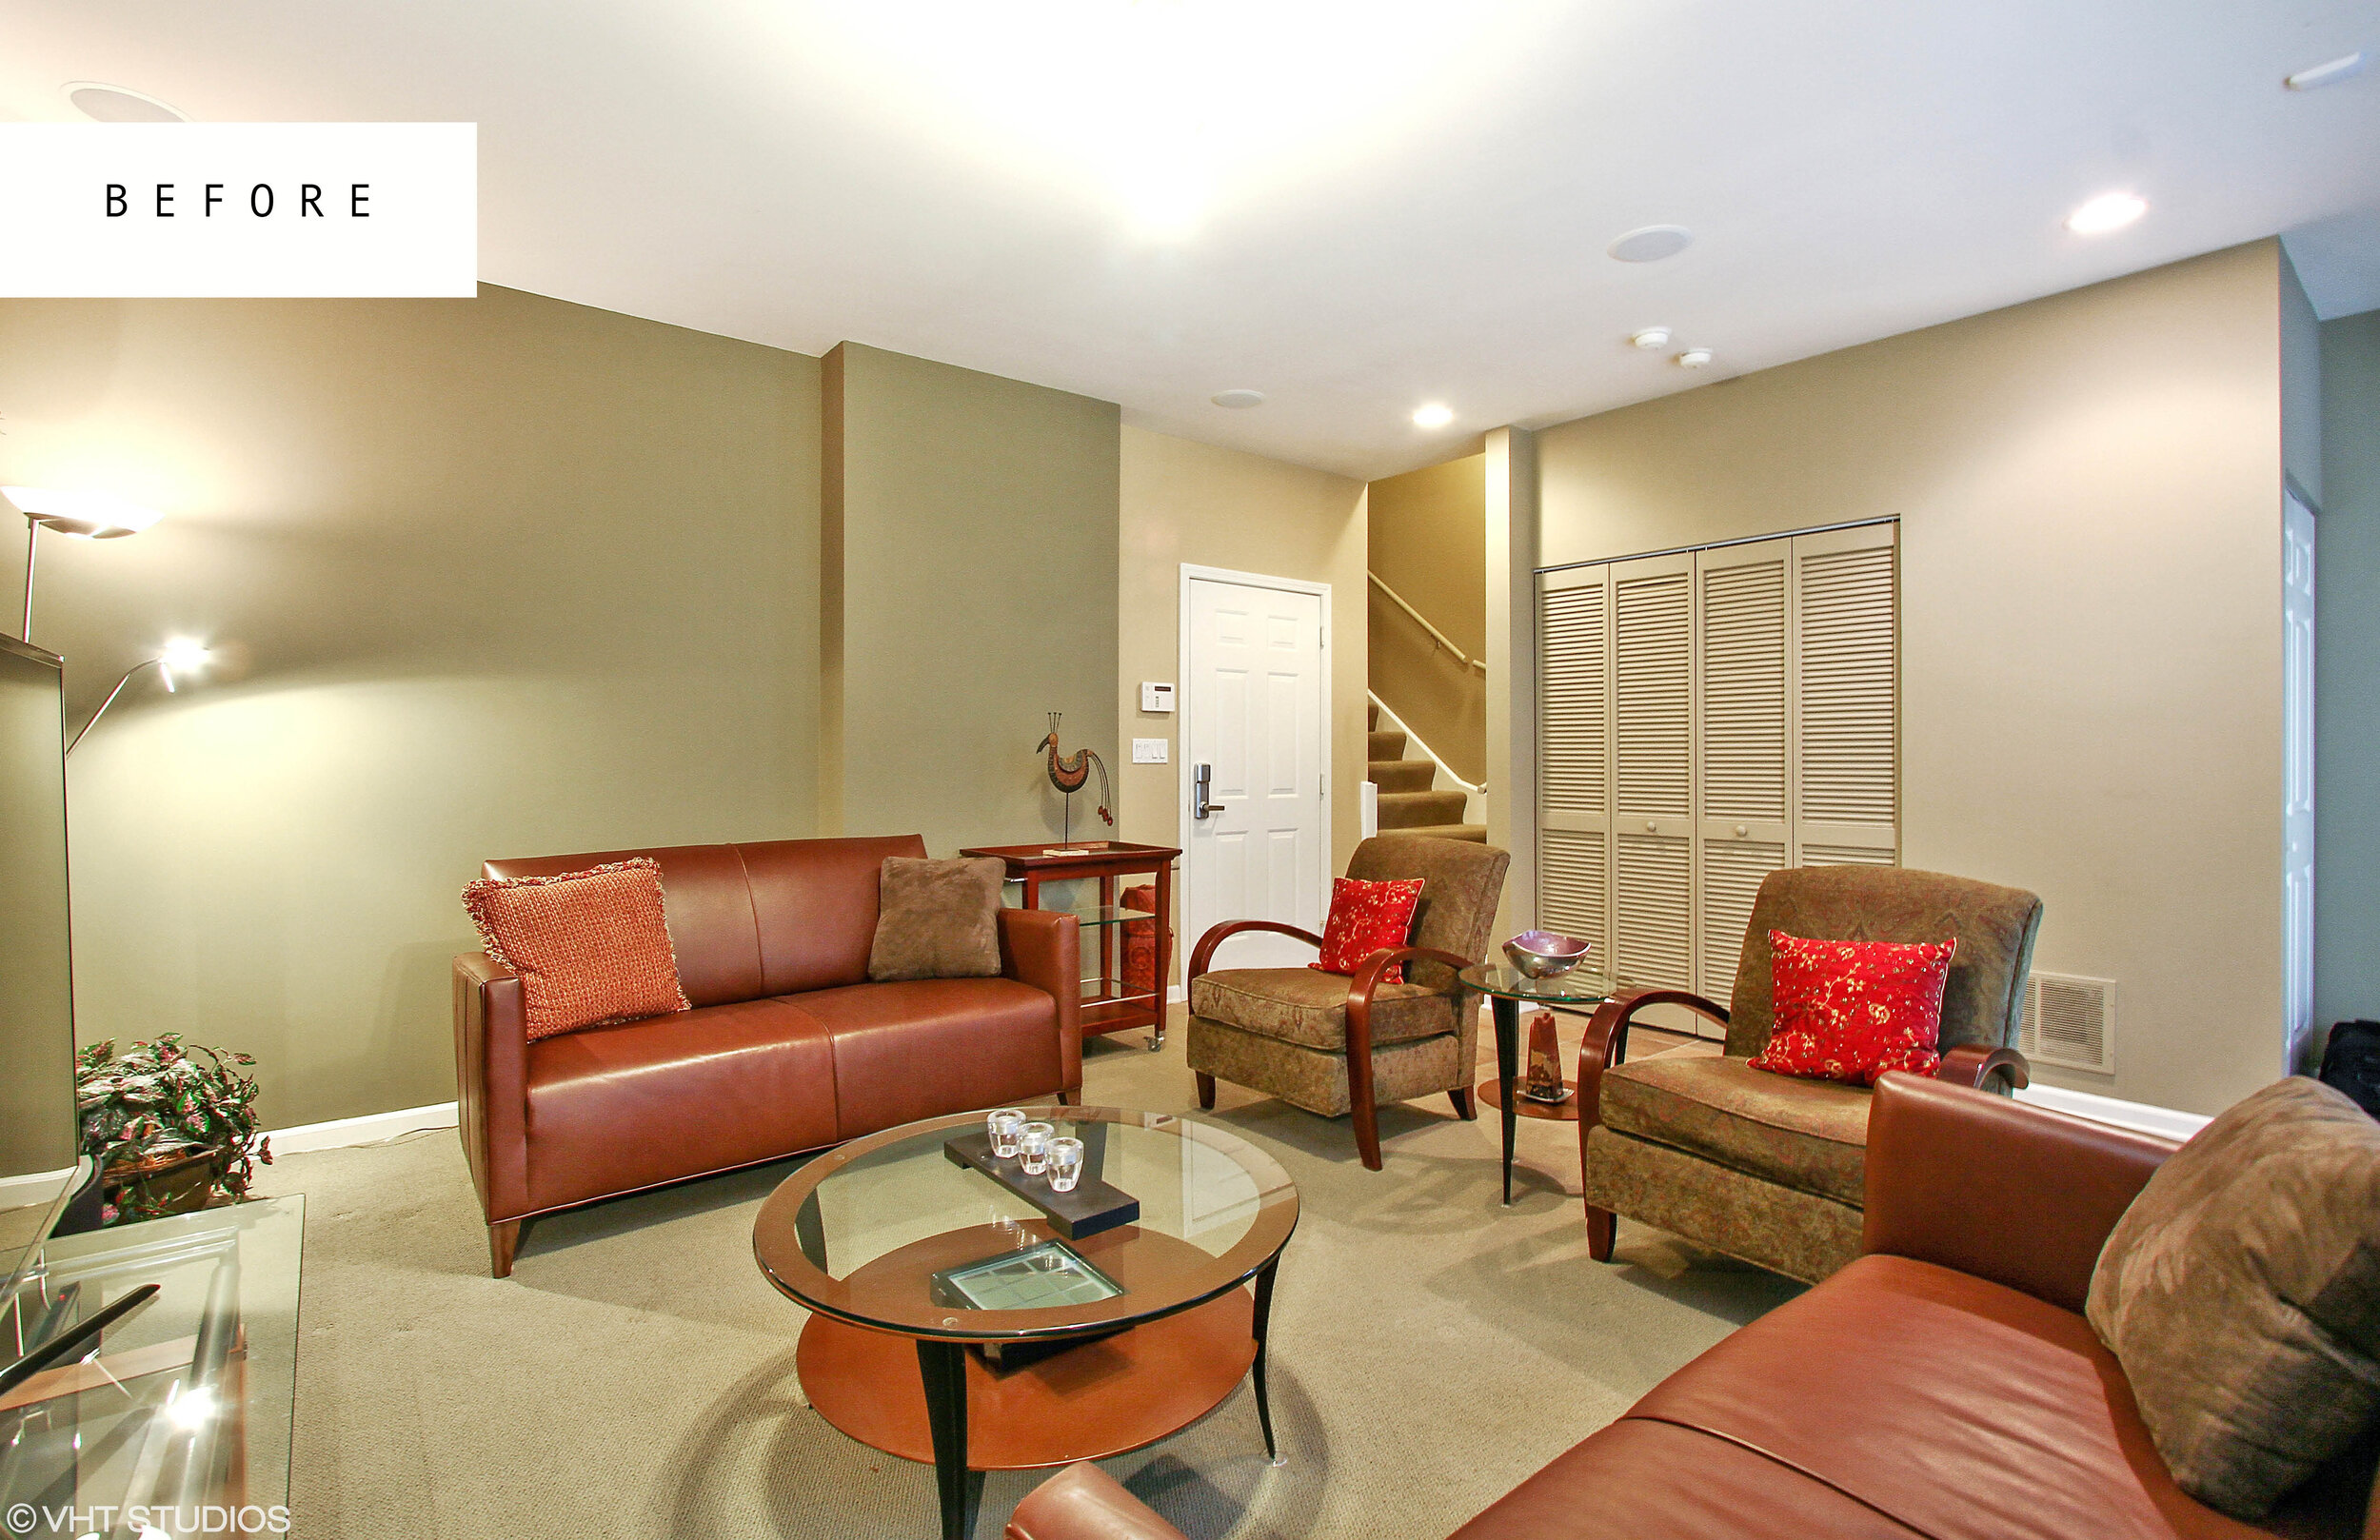
Now for the good stuff, a slide show of all the BEFORE/AFTER pics!